
Supplies Needed...
Paint Shop Pro - Version 9
A brightly colored Christmas graphic.
Alien Skin - Xenofex2 - Crumple.
Gregs Factory Output - VolII - Pool Shadow.
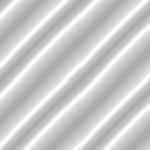
Silverfoil.
If you don't have the 'silverfoil',
you may R-click on my image below,
and save it to your computer.
Ok ...Let's get started...
1. Open your graphic.
Duplicate twice. Close the original.
Minimize the second copy for now.
This will be referred to as our main graphic.
2. On your main graphic...
Set your selection Tool to hexagon.
Draw this shape to take up most of your graphic.
3. New Raster Layer.
4. Floodfill with the silverfoil.
Selections - Modify - Contract by 2px.
Hit your delete key.
Keep selected.
5. Selections - Modify - Contract by 10.
6. Repeat Step 4.
7. Repeat Step 5.
8. Repeat Step 4 one more time.
Selections - Select none.
9. With Raster Layer 2 active.
Effects - 3D Effects - Drop Shadow.
See settings below...
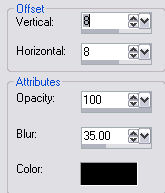
Repeat Drop Shadow, but change the V and H to minus 8.
10. With Layer 2 still active,
using your magic wand, click outside the three silver borders.
Keep selected.
11. Layers - Merge visible.
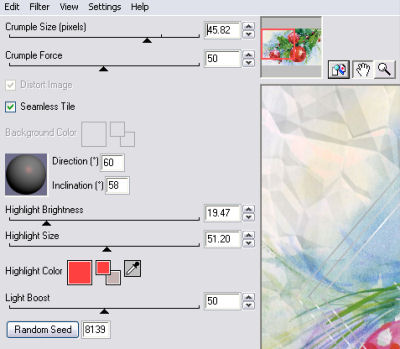
12. Effects - Plugins - Alien Skin - Xenofex 2 - Crumple.
See settings below...
Selections - Select none.
Layers - Merge - All Flattened.
13. Image - Add Borders - 2px.
Select and floodfill with the silverfoil.
Keep selected.
14. Effects - 3D Effects - Drop Shadow.
Use settings from Step 9.
Selections - Select none.
15. Image - Add Borders - 4px.
Select and floodfill with bright christmas red.
Selections - Select none.
16. Repeat Step 13.
Selections - Select none.
17. Image - Add Borders - 4px.
Select and floodfill with bright christmas green.
Selections - Select none.
18. Repeat Step 13.
Selections - Select none.
19. Image - Add Borders - 65px - white.
Select with magic wand.
20. Activate minimized copy.
Edit - Copy.
21. Activate main graphic.
Edit - Paste - Into selection.
Keep selected.
Adjust - Blur - Gaussian Blur - Radius 10.
22. Repeat Step 12 - The crumple effect.
23. Effects - Plugins - Gregs Factory Output - Vol II - Pool Shadow.
Use Default Settings.
Selections - Select none.
24. Repeat Steps 13, 15, 16, 17 and 18.
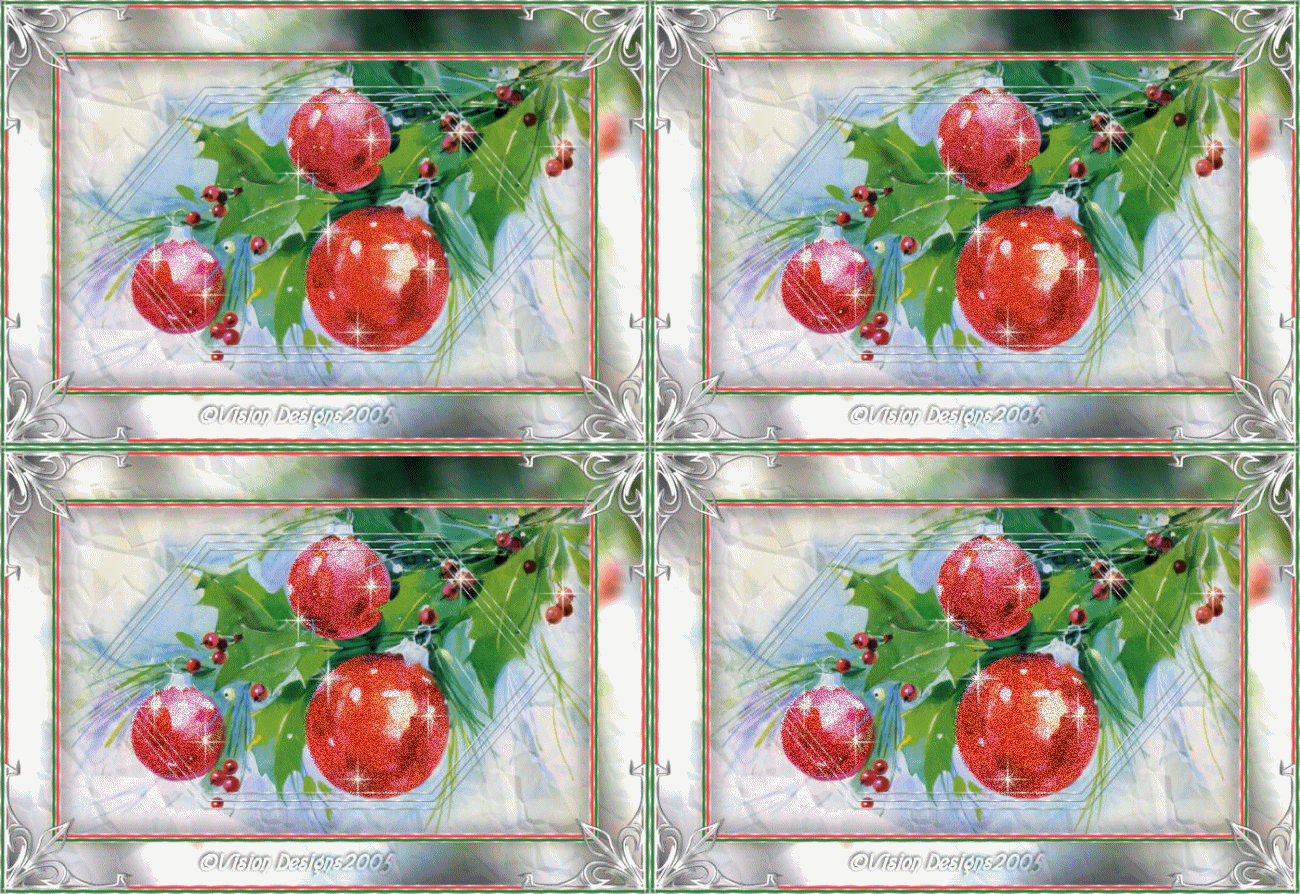
25. Add some decorative corners, and some sparkles.
26. You may add your name or watermark and save as a jpeg,
OR, if you would like to add some glitter...
Please continue...
***To Add Glitter***
27. With your graphic open, promote background to layer, if necessary.
28. With selection tool, select areas you wish to add some sparkle.
In my graphic, I set my selection tool to circle,
and selected the ornaments.
Hold down the shift key, to select more than one area.
Keep selected.
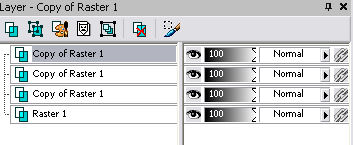
29. In Layer Palette, R-click on Raster Layer 1 - duplicate.
R-click on Copy of Raster 1 - Duplicate.
Repeat this as many times as you like.
I usually do three copies.
Too many will make your animation too large.
See my Layer Palette below...
30. Highlight Raster Layer 1.
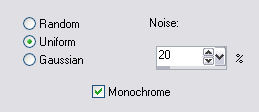
Adjust - Add/Remove noise - Add Noise.
See settings below...
Selections - Select none.
31. Highlight first Copy of Raster layer 1.
Add Noise, but change the % to 25.
32. Highlight second Copy of Raster Layer 1.
Add noise, but change the % to 30.
33. Highlight third Copy of Raster Layer 1.
Add noise, but change the % to 35.
34. Selections - Select none.
35. File - Save As - pspimage.
Don't forget where you save it...*S*...
36. Launch Animation Shop.
File - Open - Your saved pspimage.
View - Animation.
If you're satisfied with it, then
Save as ----(Your named image)
Click Next, Next, Next and Finish.
Hope you enjoyed doing this tutorial.
'Seasons Greetings'

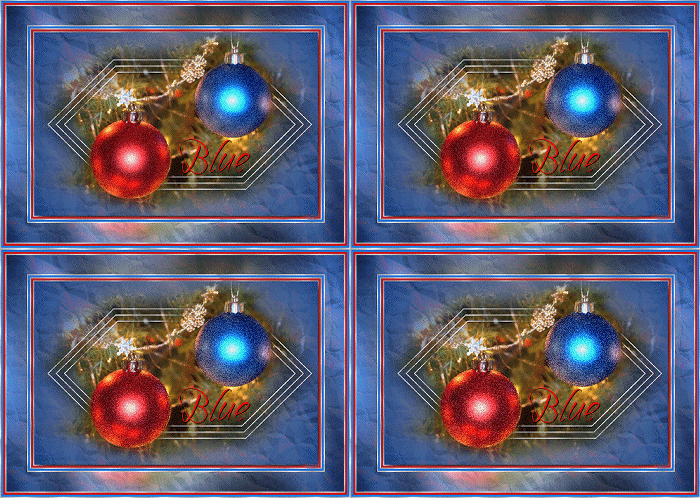
Following are some lovely examples of this tutorial, created by my friends.
Created by my friend Blue.
Thank you Blue.

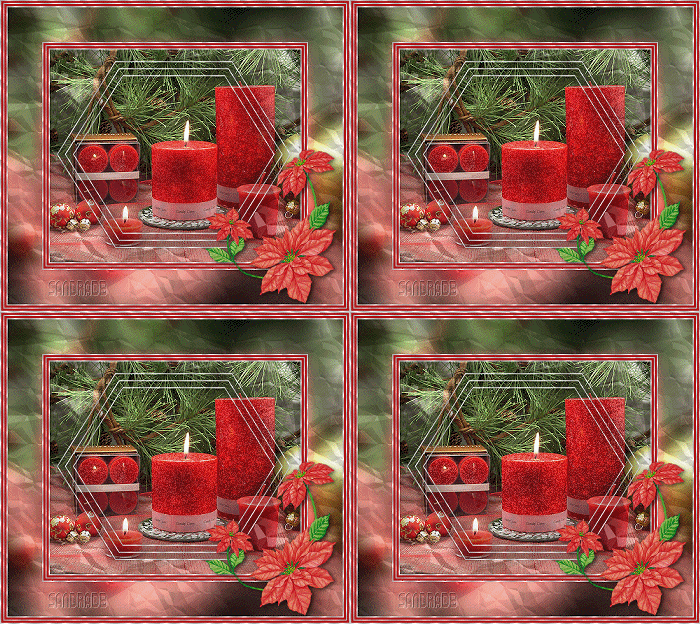
Created by my friend Sandra DB.
Thank you Sandra.


Dianne McFarlane
E-Mail: sdmcfarlane@nf.sympatico.ca
©Vision Designs
|