

I wrote this tutorial for my 'Cyber' friend Pippin.
I hope you like it, Pippin.

I am using one of Josephine Wall's beautiful paintings.
She gives a general permission,
for folks such as myself to use her work.
You may visit her site
here

Supplies Needed...
Paint Shop Pro - Version 9
Graphic of your choice.
Goldfill.
Greg's Factory Output - Vol II - Pool Shadow.
Ok ...Let's get started...
1. Open your graphic.
Duplicate twice. Close the original.
Minimize the second copy for now.
2. On your main graphic...
Set your selection Tool to Ellipse - Feather 26.
Draw an ellipse in the center of your graphic.
3. Selection - Invert.
Adjust Blur - Gaussian Blur - Radius 10.
Selections - Select none.
4. Choose two soft colors from your graphic,
for the Foreground and Background boxes.
5. Image - Add Borders - 3px - white.
Select with magic wand - Feather 26.
6. New Raster Layer.
Floodfill with one of your chosen colors.
Click the 'floodfill' three or four times ,
or until you get the effect you're pleased with.
Selections - Select none.
7. Layers - Merge - All Flattened.
8. Image - Add Borders - 2px - white.
Select (Feather set back to 0) and floodfill with the goldfill. Scale set to 50.
Selections - Select none.
9. Image - Add Borders - 5px - white.
Select and floodfill with your second chosen color.
Selections - Select none.
10. Repeat Step 8.
11. Image - Add Borders - 25px - white.
Select and floodfill with one of your chosen colors.
Keep selected.
12. Effects - Plugins - Gregs Factory Output - Vol II - Pool Shadow.
Use default settings.
13. Selections - Select none.
14. Image - Add Borders - 50px - white.
Select and floodfill with your second chosen color.
15. Repeat Step 12.
16. Selections - Invert.
Effects - 3D effects - Drop Shadow.
See settings below...
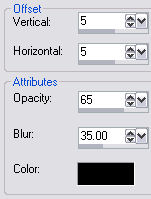
Repeat 'Drop Shadow', but change the V and H to minus 5.
Selections - Select none.
17. Image - Add Borders - 75px - white.
Select the border. Set aside for the moment.
18. Activate the minimized copy.
*NOTE* You may wish to select the brightest
portion of your graphic.
Edit - Copy.
19. Back to main graphic.
Edit - Paste into selection.
Keep selected.
20. New Raster Layer.
Floodfill with the same color you used in Step 14.
Reduce the opacity of this layer to 60.
Keep selected.
21. Repeat Step 12 - The Pool Shadow.
Keep selected.
22. Repeat Step 16.
23. Repeat Steps 8, 9, and 10.
24. Repeat Steps 11 and 12.
25. Repeat Steps 8, 9, and 10.
26. New Raster Layer.
Add a pretty decorative flower.
Apply the 'Pool Shadow' to this layer.
It make a pretty effect.
27. Add your name or watermark.
Resize and save as a jpeg.
Thank you for trying my tutorial.
Hope you enjoyed doing it.

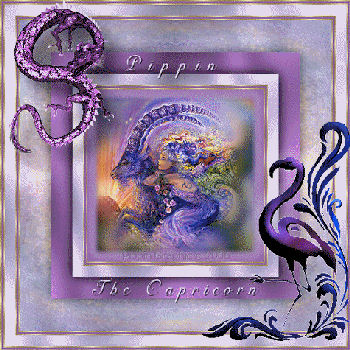
Below is the lovely result created by Pippin.
Thank you, Pippin.
Below is the beautiful result created by my sister Gayle.
Thank you, Gayle.

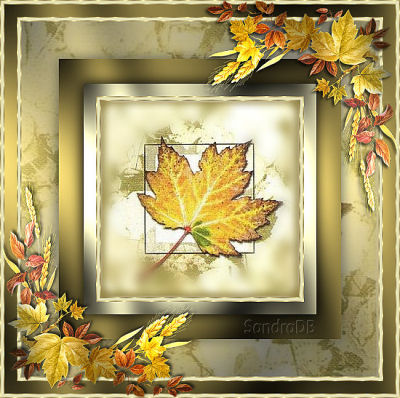
Following is the wonderful creation by my friend, SandraDB.
Thank you, Sandra.


Dianne McFarlane
E-Mail: sdmcfarlane@nf.sympatico.ca
©Vision Designs
|