
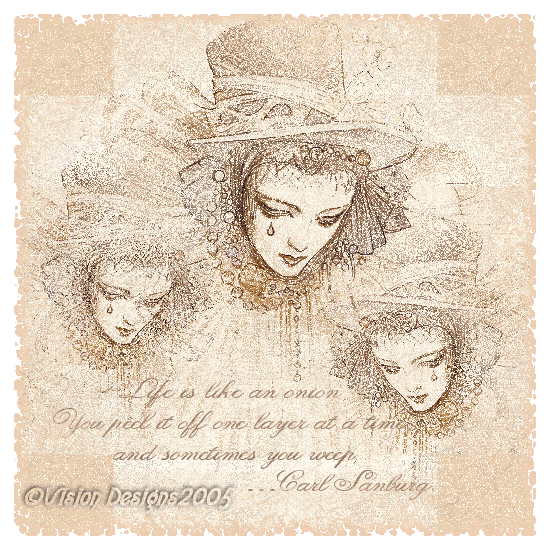

Supplies Needed...
Paint Shop Pro - Version 9
Tube of your choice - Choose a tube that has mainly two colors.
I can't offer the tube I used, as I don't know who owns it.
Plugin - Filters Unlimited.
Plugin - Transparency or Macs - Eliminate White.
A favorite quote.
Masks - Beauty Mask, plus an Edge Mask of your choice.
The edge mask has to be your choice,
as it will depend upon what tube you choose.
You may download the beauty mask
by clicking on the
'Zip File'
Ok Let's get started...
1. Open your tube in psp. Close original.
2. Choose two colors from your tube, a light one
and a medium to darkish one,
for the Foreground and Background colors.
3. Effects - Plugins - Transparency - Eliminate White.
Set aside for the moment.
4. Open new image, at least 50px all around
larger than your tube.
You can resize later...
5. Floodfill with your lighter color.
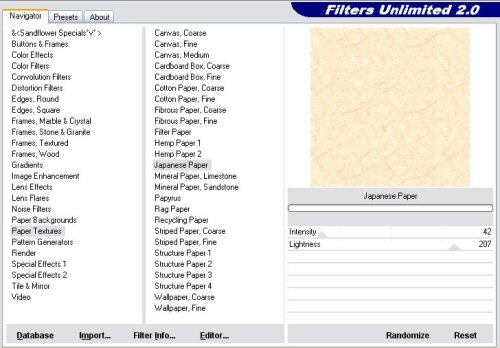
6. Effects - Plugins - Filters Unlimited - Paper Textures - Japanese Paper.
See settings below...
7. Activate tube image. Edit - Copy.
8. Activate new image. Paste - As a new layer.
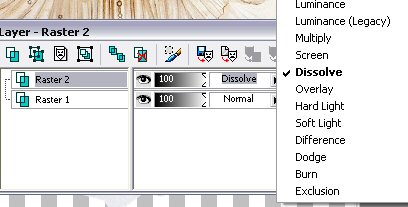
9. In layer palette, change Blend Mode to Dissolve.
See caption below...
10. Still in Layer palette,
Right-click on layer 2 - Duplicate.
Image resize - 75%. Resize all layers unticked.
11. Move slightly to the left of the main image.
12. Layers - Arrange - Move down. ( just one spot)
13. With Copy of layer 2 still active, right click - Duplicate.
Image - Resize - 75%.
Resize all layers unticked.
14. Close off layer 2.
Image - Mirror.
Move slightly down and to the right of the main image.
15. Turn layer two back on.
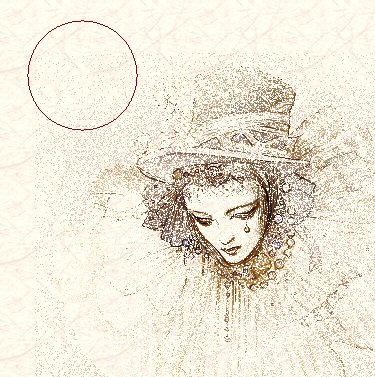
16. At this point, you may have to erase
any hard edges that may be showing,
by turning off layers ,
so the one you're working on is active.
See settings and caption below...

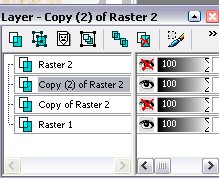
17. When satisfied, Layers - Merge - Visible.
18. Add your favorite quote, or if you prefer, your name.
19. Layers - Merge - All flattened.
20. New raster layer.
Floodfill this layer with your darker color.
21. Effects - Plugins - Filters Unlimited.
Same settings as before.
22. In layer palette, Blend mode - Dissolve.
Reduce the opacity of this layer to 80.
23. Layers - Load mask from Disc - Choose the 'Beauty Mask'.
Layers - merge group.
24. Layers - Merge - All Flattened.
25. Now you may add a frame, or an edge mask of your choice.
I chose to add an egde mask...
26. Add your watermark, and save either as jpeg or gif...
Hope you enjoyed this tutorial.


Dianne McFarlane
E-Mail: sdmcfarlane@nf.sympatico.ca
©Vision Designs
|