

Supplies Needed...
Paint Shop Pro - Version 9
Gold Fill
Plugins: Brushstrokes
Artistiques
Filter Attacks
An image of your choice.
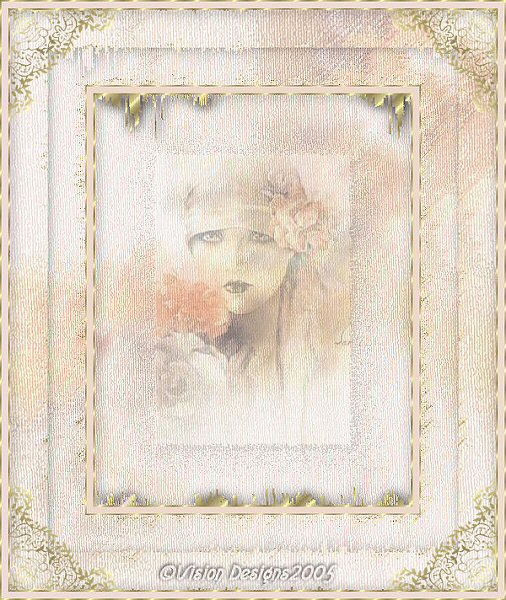
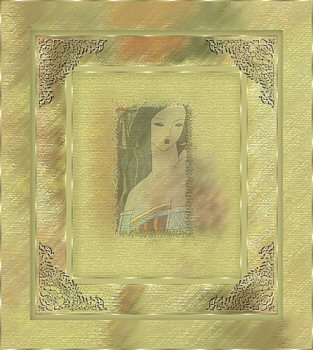
I am using one of Sara Moon's beautiful paintings
You may see more of this beautiful artwork by visiting
'HERE'.
You may download the goldfill,
and my corners
'here'
Ok ...Let's get started...
1. Open your image. Duplicate (shift D) twice.
Minimize one copy,
and close the original.
2. Choose a light color from your image for the background color.
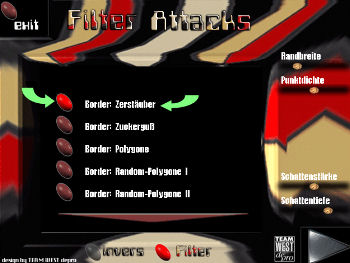
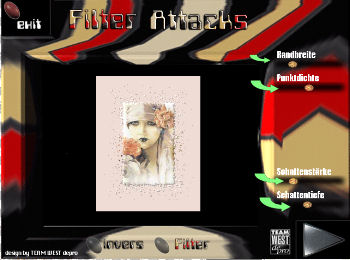
3. Image - Effects - Plugins - Filter Attacks.
As there are no numbers for adjustments,
plus not written in English... *S* ...Try
to put the sliders as you see them
in my settings below...
4. New raster layer (layer 2).
5. Floodfill with the pale color that
you've chosen from the image.
6. Layers - Arrange - Send to bottom.
7. Activate the minimized copy.
Select a portion of it. Edit - Copy.
See screenshot below...

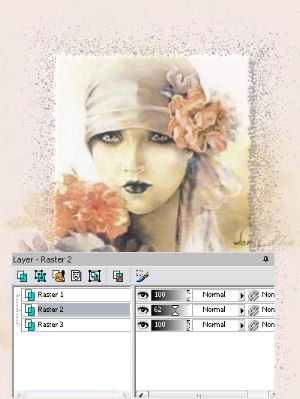
8. Activate your main image.
Selections - Select all.
9. New raster layer.
Edit - Paste into selection.
Selections - Select none.
10. Layers - Arrange - Send to bottom.
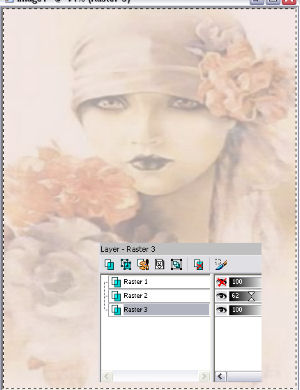
Your image and layer palette will look like the screenshot below...
11. Reduce the opacity of layer 2 to 62.
12. Close off layer 1.
You will see the following...
13. Merge layers 2 and 3 - Merge visible.
14. Highlight the Merged layer.
15. Image - Effects - Plugins - Brushstrokes - Sprayed strokes.
See settings below...
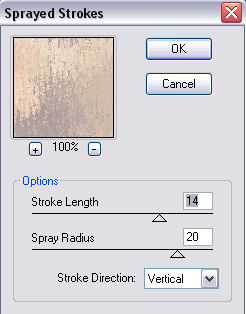
16. Repeat step 15 , but change the Vertical setting to Horizontal.
17. Adjust - Blur-gaussian Blur - Radius 3.
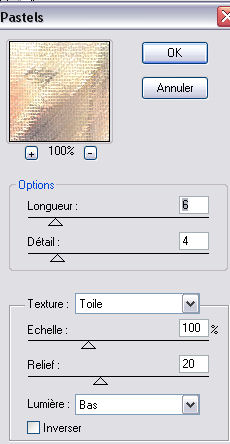
18. Effects - Plugins - Artistiques - Pastels.
See settings below...
19. Reduce opacity of layer 1 to 36.
*Note*...This setting could depend upon
the image that you've chosen to use.
20. Layers - Merge - All flattened.
21. Image - Add Borders - 2px - white.
22. Select with magic wand. Floodfill with the goldfill.
*Note* Because of the light colors in the background,
you will also select some of the bits on the top and bottom.
If you prefer not to have this effect,
just use a different color when you add your border.
Keep selected.
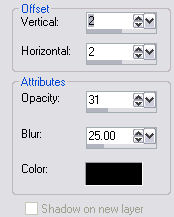
23. Effects - 3D effects - Drop Shadow.
See settings below...

24. Selections - Select none.
25. Image - Add borders - 10px -
Color- Use the light color you chose earlier.
26. Image - Add borders - 2px - white.
Select and floodfill with the goldfill.
Selections - Select none.
27. Image - Add borders - 55px - white.
28. Select - Edit - Paste into selection.
(your selected image from step 7,
should still be in your cache)
Keep selected.
29. New raster layer.
30. Floodfill with the pale color.
Reduce the opacity of this layer to 62.
Keep selected.
31. Layers - Merge visible...
Keep selected.
32. Repeat Steps 15 through 18.
Keep selected.
33. Edit - Copy.
34. Image - Add borders - 55px - white.
Select the border.
Edit - Paste into selection.
35. Effects - 3D effects - Drop Shadow.
See Settings below...
36. Selections - Select none.
37. Repeat Steps 21 through 26.
38. Add some decorative corners, and your name or watermark.
Resize and save as jpeg.
This tutorial is a little long,
but I hope you enjoyed it and like your results...

Below is an example created by my friend Blue.
Thank you Blue.
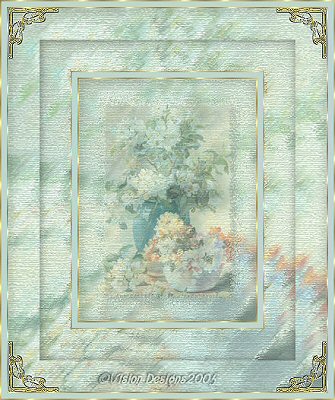
Below is another sample that I made,
using a floral image.


Dianne McFarlane
E-Mail: sdmcfarlane@nf.sympatico.ca
©Vision Designs
|