Supplies Needed...
Paint Shop Pro - Version X
Three graphics that are related.
My graphics include,
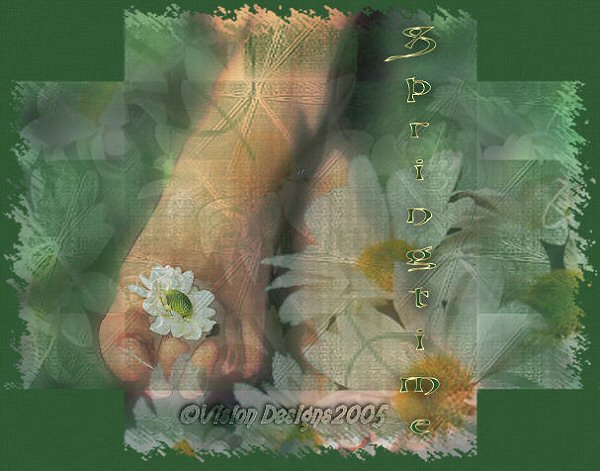
the bare toes with the daisy, as my main image,
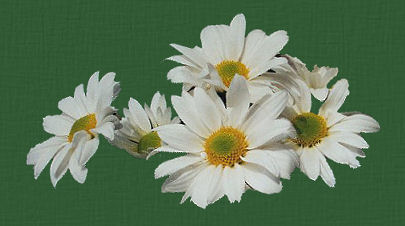
and two of my own photographs of shasta daisies.
I have included my photographs in the zip below.
Beauty Mask.
Goldfill
You may download the mask and the three graphics
'here'
*Note* ...Before we begin,
if you decide to use your own images,
you may have to select just the portions that you wish to see.
For example: In my main image, the one with the feet,
I selected just the feet, inverted the selection,
and blurred the grassy bits.
For the daisies, I selected just part of the flowers
to copy and paste for Layer 2.
For layer three, I kept the daisies as they were.
Ok ...Let's get started...
1. Open your main graphic, plus the two daisy graphics.
Duplicate and close the originals.
2.With the main graphic active,
Right-click in layer palette,
and promote to layer if necessary.
3. Reduce the opacity of this layer to 82.
4. Selections - Select all.
5. New Raster Layer.
6. Open one of the daisy graphics.
Edit - Copy.
7. On main image. Edit - Paste into Selection.
8. Reduce the opacity of this layer to 58.
Keep selected.
9. New Raster Layer.
10. Open the third graphic. Edit - Copy.
11. On main image.
Edit - Paste into selection.
Keep the opacity of this layer at 100.
12. Move Layer three to the bottom.
13. Layers - Merge - All flattened.
14. New Raster Layer.
15. Choose a dark color from your graphic.
Floodfill this layer with your chosen color.
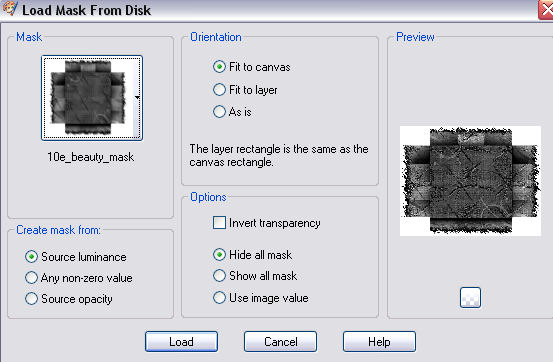
16. Layers - Load/save Mask. Choose the Beauty Mask.
See settings below...
17. Layers - Merge group.
18. Layers - Merge - All flattened.
19. Add whatever text you would like.
20. Save as jpeg or gif.
Hope you enjoyed doing this tutorial...

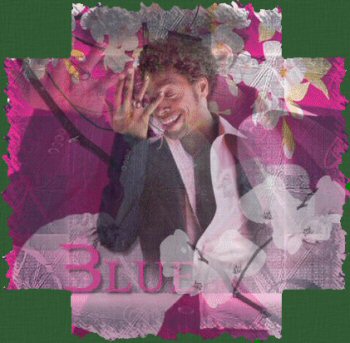
Below is an example created by my friend Blue.
Thank you Blue.


Dianne McFarlane
E-Mail: sdmcfarlane@nf.sympatico.ca
©Vision Designs
|