
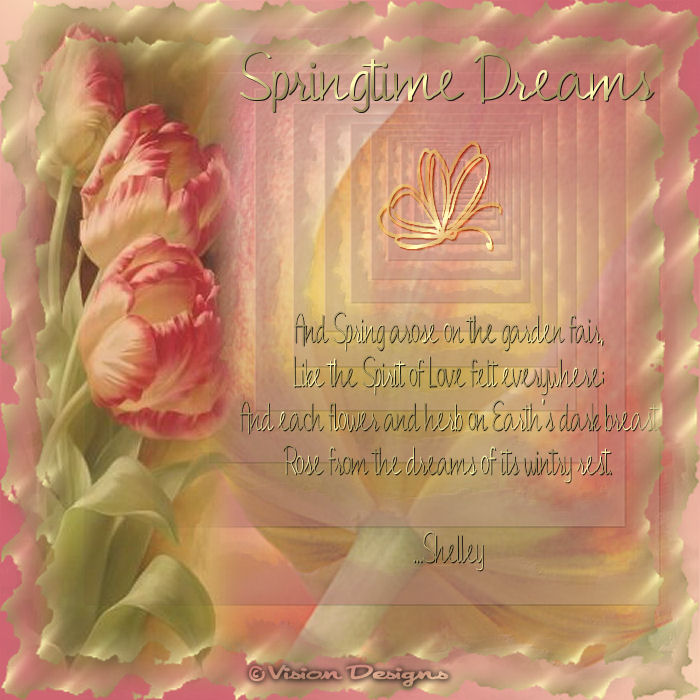

Supplies Needed...
Paint Shop Pro - Version X
Pretty gold accents of your choice.
Your favorite Spring quote or poem.
Mask - 04010 and ww_edgemask_2
Goldfill
You may download the masks and the goldfill
'here'
Place the masks in your masks folder in psp,
and the goldfill in your patterns folder.
Graphic of your choice.
*note*...You will require two images which represent the same idea...
i.e. - daisies, tulips, roses, etc. It doesn't have to be flowers.
Try to find a large closeup that fills
the whole page and then a medium sized graphic.
Notice what I have used in my final results.

Ok ...Let's get started...
1. Open your graphics.
Duplicate and close the originals.
2. Open a new transparent image 700x700 px.
We can resize later.
3. Choose a light and a darkish color from your graphics
for the foreground and background colors.
4. In the Materials box, set to gradient - choose Foreground/Background...
angle - 45
repeats - 0
style - linear.
5. Floodfill this first layer with your gradient.
New raster layer.
Selections - Select all.
6. Open the large closeup graphic.
Edit - Copy.
Activate your working space.
Edit - Paste into selection.
Selections - Select none.
Reduce the opacity of this layer to 57,
or whatever suits your particular graphic.
7. New Raster layer. Flood fill with the gradient.
8. Layers - Load mask from disk. Choose the Mask04010.
See settings below...
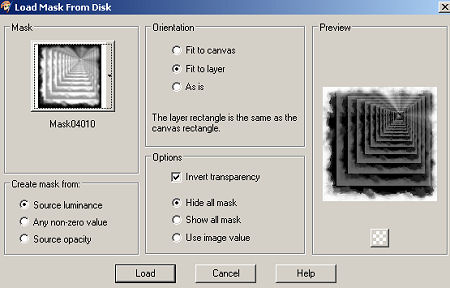
Load.
Layers - Merge group.
9.Effects - 3D Effects - Drop Shadow.
See Settings below...
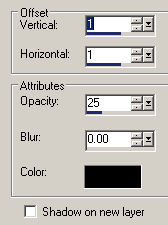
Apply this 'Drop Shadow' one more time.
10. New Raster Layer.
11. Open up your second graphic.
Draw a rectangle around the part you wish to use...
Feather set to 22.
Edit - Copy
12. Back to your working space.
Edit - Paste as a new layer.
Resize the percentage until it fits your new space.
Remember to 'untick' Resize all layers.
I set my percentage to 150%.
Reduce the opacity of this layer to suit your image.
I lowered mine to 75.
13. Using the goldfill - Add your favorite Springtime text.
Add a drop shadow.
See settings below...
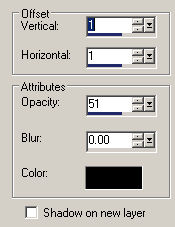
14.
Layers - Merge visible.
New Raster Layer.
Floodfill this new layer with the goldfill.
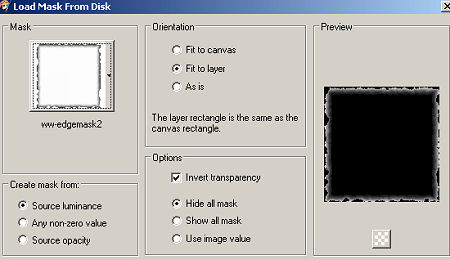
15. Layers - Load mask from disk. Choose the ww-edgemask2.
See settings below...
Load.
Layers - Merge group.
16. In layer palette, R-click on the newly merged mask layer.
Duplicate
17. On the duplicated layer - Image resize - 90%.
18. Layers - Merge - All flattened.
19. Add a pretty gold decoration or some corners of your liking.
20. Add your watermark, and resize if you wish.
'Hope you've enjoyed this tutorial.'

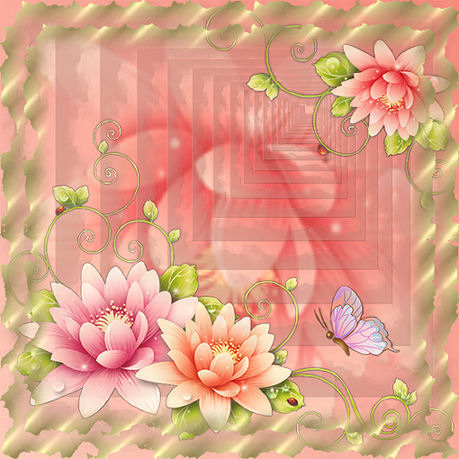
The result below was created by my friend Ginger.
Thank you Ginger, it's just beautiful.

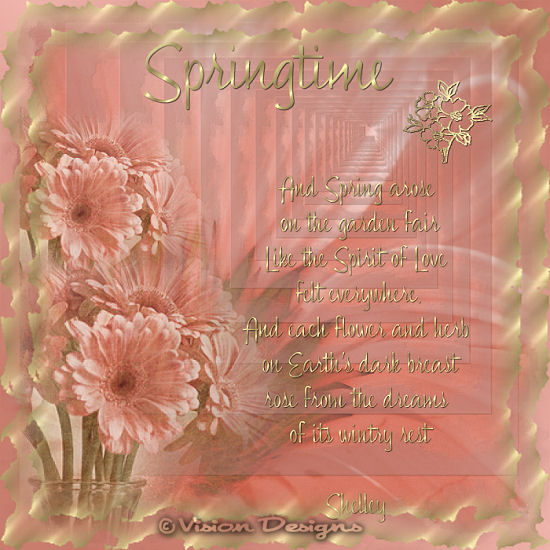
Below is another one that I created, using similar tones.


Dianne McFarlane
E-Mail: sdmcfarlane@nf.sympatico.ca
©Vision Designs
|