


***Supplies Needed***
Paint Shop Pro - version 9
Graphic of your choice - This can be any image
that has lots of detailed background.
Sorry I can't share mine, as I don't know who owns it.
Goldfill
Plugins...
Brushstrokes
Contour
MezzoForce Ice
Gregs Factory Output-Vol II - Pool Shadow
Ok...Lets get started...
1. Open your graphic. Duplicate. Close the original.
2. Selection Tool - Ellipse.
Select the main portion of your graphic.
Don't worry if it isn't centered,
as we will crop it later.
Selections - Invert.
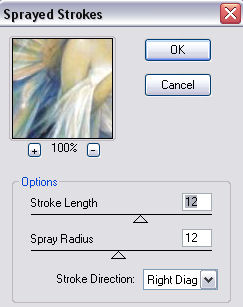
3. Effects - Plugins - Brushstrokes - Sprayed Strokes.
See Settings below...
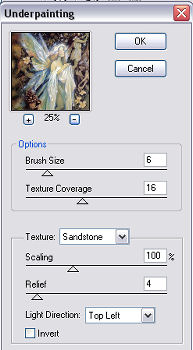
4. Effects - Plugins - Contour - Sandstone.
See settings below...
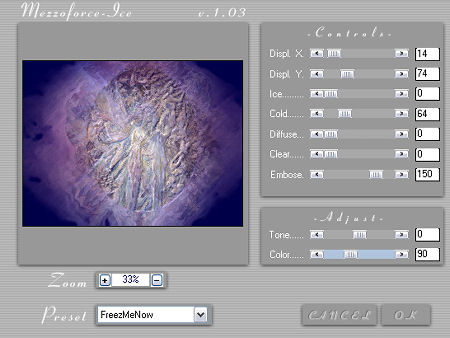
5. Effects - Plugins - MezzoForce Ice.
See settings below...
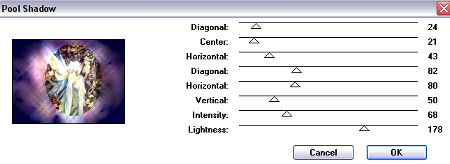
6. Effects - Plugins - Gregs factory Output-Vol II - Pool Shadow.
See settings below...
7. Selections - Invert.
8. New raster layer.
Flood fill with gold foil. Angle 0. Scale 50.
9. Selections - Modify - Contract by 3.
Hit your delete key.
Keep selected.
10. Flood fill with a deep color from your graphic.
11. Selections - Modify - Contract by 5.
Hit your delete key.
Keep selected.
12. Repeat Step 9.
13. Selections - Select none.
14. Now, if need be, and this will depend upon
the image that you've chosen.
Selection Tool - Rectangle - Select,
so that the area on all sides of the ellipse
are more or less evened out.
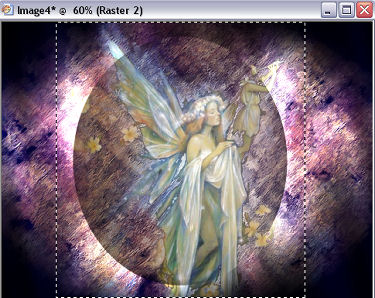
Image - Crop to selection.
See screenshot below...
15. Layers - Merge - All flattened.
Edit - Copy.
Note: Just hold this,
as we'll paste it in a moment.
16. Image - Add borders - white - 3px.
Select and flood fill with the gold foil.
17. Image - Add borders - white - 5px.
Flood fill with the deep color.
18. Repeat Step 16.
19. Image - Add borders - white - 45px.
Select.
Edit - Paste into selection.
20. Adjust - Blur - Gaussian Blur - Radius 10.
21. Repeat Steps 16, 17, and 18.
22. Add your name or watermark.
Resize and save as jpg.
I hope you enjoyed this tutorial.


Dianne McFarlane
E-Mail: sdmcfarlane@nf.sympatico.ca
©Vision Designs
|