
This tutorial has been created by
Vision Designs
for
Mangels Designs

Supplies Needed...
Paint Shop Pro - Version 10,
but should work with other versions, as well.
Supplies from Butterflies World Two.
I used the following...
Butterflies World 2_frame9
Butterflies World 2_back2
Butterflies World 2_back3
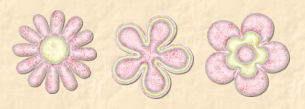
Butterflies World 2_Butterflies and Flowers of your choice.
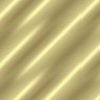
Goldfill
You may R-click on the swatch below, and save it to your harddrive.
Mask C107
Just unzip, and place it in your Mask Folder
You may download the mask
'here'
I always work in Layers - this gives you the opportunity
to change things, delete things, or move things around,
as you proceed with your design.
I will be referring to the Butterflies World 2, as bw2,
for the remainder of the tutorial.
Ok, Let's get started...
Remember to save often.
1. Open bw2_backs 2 and 3.
I have decided to resize them a bit differently in this tutorial,
so as not to lose the lovely pattern and texture.
Click on the grey part at the top of bw2_back2.
See screenshot below...
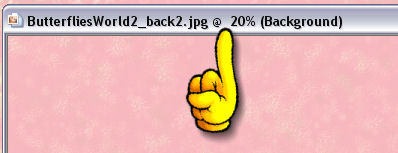
You'll see it's at 20%, scroll, using your mouse wheel,
to 100%. This will show all of the nice pattern
and texture of the background.
Using the Selection Tool in psp,
set to square...

Select a portion of the back2,
trying to capture a nice part of the pattern and texture.
Image - Crop to Selection.
Repeat this procedure with bw2_back3.
Minimize both in your workspace in psp.
2. Open up a new transparent image, 800x800px.
Floodfill this Layer with the bw2_back2.
3. New Raster Layer.
Floodfill with bw2_back3.
4.Layers - Load/Save mask - Load mask from disk.
Choose the Maskc107.
See Settings below...
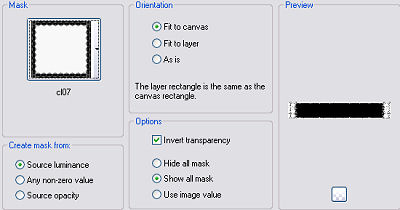
Layers - Merge Group.
5. Open the bw2_frame9
Resize 45%.
Adjust - Sharpness - Sharpen.
Edit - Copy.
Make your working image active.
Edit - Paste as a new layer.
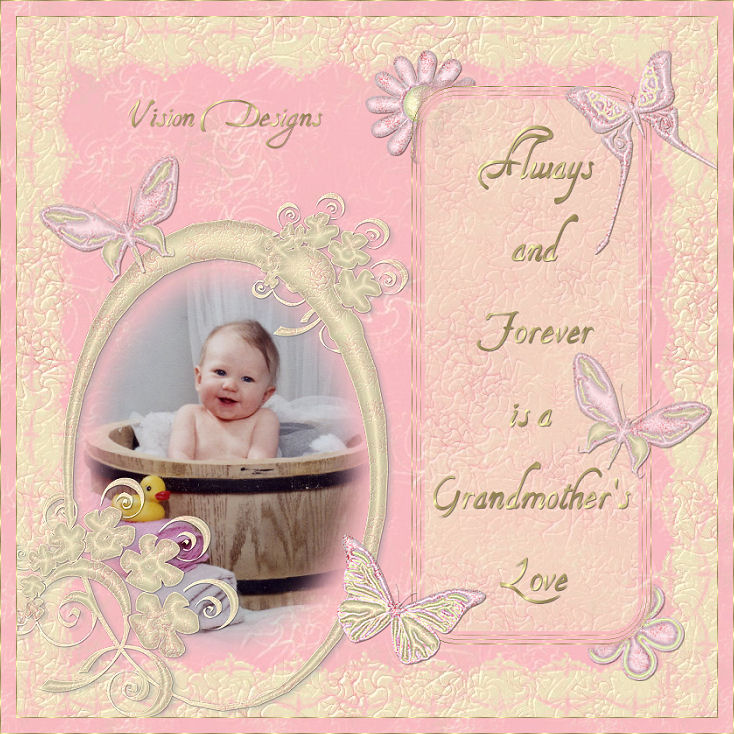
Move to bottom left, as you see in my final result.
6. Still on the frame layer, with the magic wand,
click in the center of the frame.
Selections - Modify - Expand 16.
7. At this point you may add your favorite photograph.
I'm using one of my newest granddaughter, Davin Elizabeth.*S*
Open up your photograph, and resize, if necessary.
Edit - Copy.
Back to your working image.
Edit - Paste - As a new layer.
Move this layer below the frame layer.
Making certain that you're on the photograph layer,
erase any bits that are sticking out, if necessary.
If you would like to 'mist'your photograph,
just click on 'Misting Photographs' below...

8. We're going to add a place for you to put your
favorite quotation, some text, or another photograph.
New Raster Layer.
Using your selection tool,
See settings below...

Draw a long rectangular box to extend
from top to bottom of your working image.
See screenshot below...
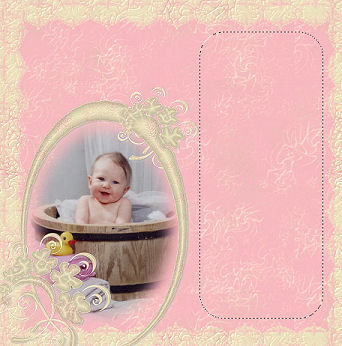
Keep selected.
9. Floodfill with the goldfill.
Angle 0
Scale 50
10. Selections - Modify - Contract by 1.
Hit your delete key.
Keep Selected.
11.Selections - Modify - Contract by 4.
Keep Selected.
12. New Raster Layer.
13. Repeat Steps 9, 10, and 11.
Keep Selected.
14. New Raster layer.
Repeat Steps 9, 10, and 11 once more.
Keep selected.
15. New Raster Layer.
Floodfill with the bw2_back3.
Reduce the opacity of this layer to 51.
16.Place the goldfill in both boxes of the materials palette,
by clicking on the pattern, and scrolling to the goldfill.
Choose your favorite quote and font.
Click on the text tool.
See Settings below...


I always create my text in a vector box.
This way you may use the handles on the sides for adjusting,
to make the text fit properly.
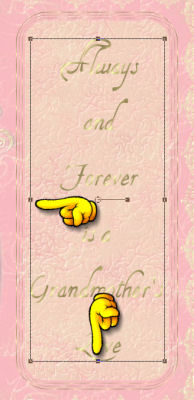
17. When satisfied, convert to Raster Layer.
18. Effects - 3D effects - Drop Shadow.
See settings below...
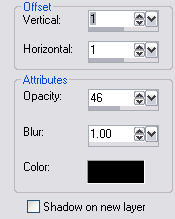
19. Now you may add your butterflies and flowers.
I resized each one to different percentages,
and rotated the butterflies, in different angles, to produce a pleasing result.
20. Once everything is in place, add a drop shadow
to each element, using the same setting as in Step 19.
21. Click on the frame layer, and add the same drop shadow, but change the opacity to 27.
22. When everything is in place to your liking...
Layers - merge - All flattened.
23. Image - Add borders - 1px - choose a color that is not in your image.
Select with the magic wand.
Floodfill with the goldfill.
Selections - Select none.
24. Image - Add borders - 10px - white.
Select with the magic wand.
Floodfill with the bw2_back 2.
Selections - Select none.
25. Repeat Step 23.
I hope you enjoyed my tutorial.




Dianne McFarlane
E-Mail: sdmcfarlane@nf.sympatico.ca
©Vision Designs
|