
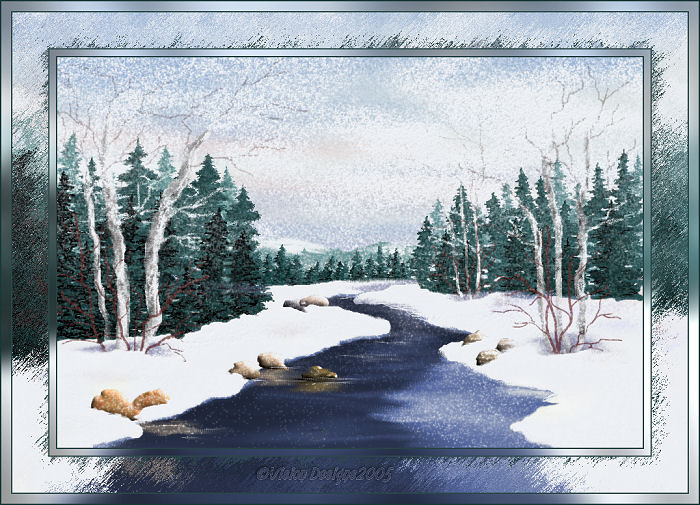

The beginning of our painting will be the sky.
Don't worry if yours isn't exactly like mine,
it doesn't have to be.
Ok...Let's have some fun...
1. Open a new transparent image.
900 x 600
We need lots of room to work.
We will resize later.
2.Floodfill with a soft pale yellow.
I used #fcfce2.
3. New Raster Layer.
I put everything on it's own layer, and merge as I go...
4. Foreground Color - Make it a very soft pinkish tone.
I used #e0c0c0.
5. Click on the Paint Brush tool, and choose the Air Brush.
See Screenshots below...
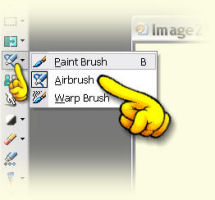

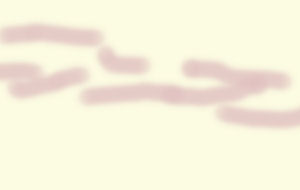
Using the airbrush, make several irregular strokes,
randomly placed across the upper portion of your image.
See screenshot below...
6. Still on Raster Layer 2...
Click on the Smudge Brush.
See settings below...

Gently smear the pink, moving in horizontal strokes,
until you get something similar to mine below...

7. Layers - Merge Visible.
8. New Raster Layer.
9. Foreground Color - Choose a nice soft greyish blue.
I used #8ba9d1.
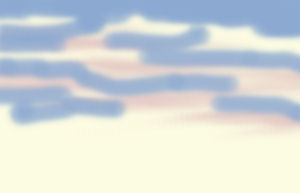
Using the AirBrush Tool, same settings as in step 5,
brush blue through the sky, leaving some pink and yellow peeking through.
See Screenshot below...
10. With the Smudge Brush Tool, same settings as before,
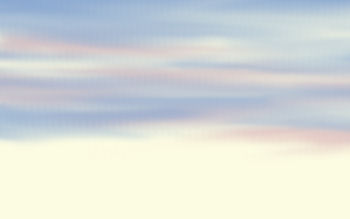
begin smudging the blue, working horizontally,
from left to right and vice versa, until you
have a nice soft blend in the sky
trying to keep bits of the pink and yellow peeking through.
Remember ...Your sky doesn't have to be exactly like mine.
See mine below to see roughly how much to smudge your sky.
11. Layers - Merge Visible.
Rename this layer 'sky'.
SAVE as winterscenepainting.psp
Great work...*S*...
When you're ready, click on the link below to Part B.


Dianne McFarlane
E-Mail: sdmcfarlane@nf.sympatico.ca
©Vision Designs
|