
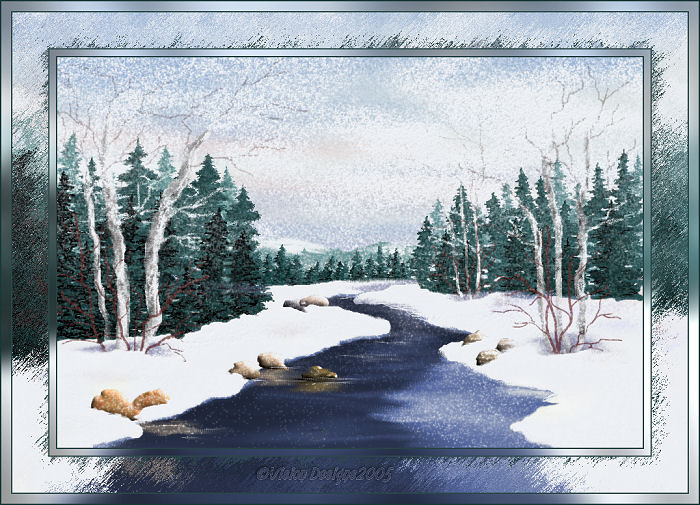
In this section, we're going to set some guidelines
plus start the background hills.
12. Foreground color - Same blue as used in your sky.
We're going to draw some guidelines for our
background hills and our water and ice.
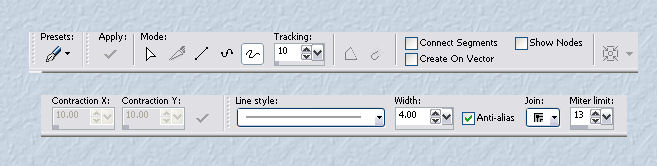
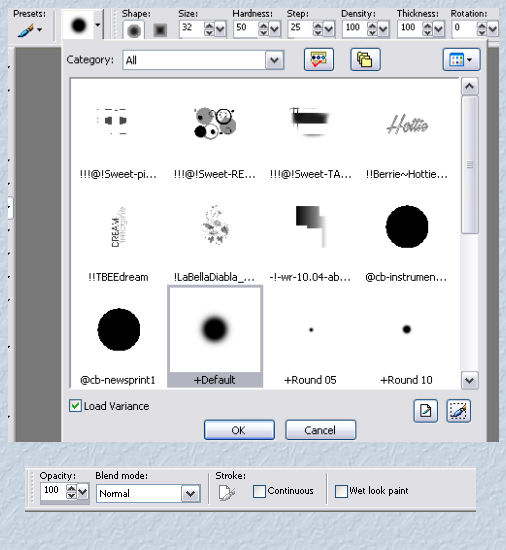
Click on the Pen Tool...
See settings below...
13. New Raster Layer.
I like to put each step on it's own layer.
This makes it much easier to delete and add layers
if things don't quite work out to be exactly
where I'd like them to be.
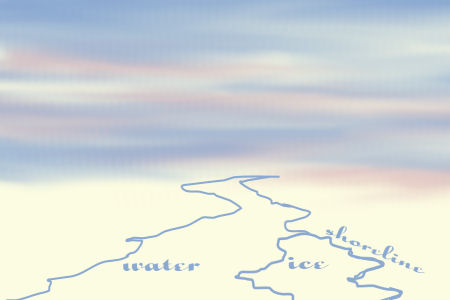
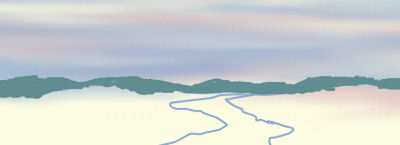
14. Draw an irregular line from left to right,
about two-thirds down from the top of your painting.
This may be partially drawn through the sky, but this is ok.
15. Now draw two lines to represent
where our brook or water will be.
Try not to center the top lines of your water.
Make this part a little to the left or right of the center
on the background hills line.
Spread it wide at the bottom.
This line can be very irregular.
See Screenshot below...

16. Remember that these are only guide lines,
and much of it will be covered over, as we proceed with our painting.
New raster Layer.
Draw another set of lines to represent
where our the ice will be.
This line has to be drawn all around, and joined.
This will make it easier to select , later, when we're ready to do our ice...
You will need to traced over part of the shoreline to the bottom right.
See screenshot below...
As you can see there is a double set of lines
along the lower right shoreline.
We'll fix that now.
Highlight the layer with just the water outline on it.
Use your eraser (any settings) to erase the extra lines.
See Screenshot below...
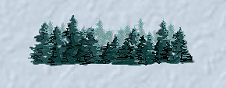
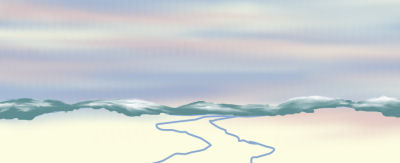
Now for the Background Hills.
17. Here you may do mountains or whatever you wish.
I have decided to have some distant hills.
18. New Raster Layer.
Foreground Color - Choose a nice pale bluish-green.
I'm using #5f8d91.
Using the PaintBrush...
See Settings below...
Paint in some hills and fill them in.
They will look a little messy at first, but
we aren't finished with them just yet.
See mine below...
19. Now let's smear a little white through them to represent snow.
Again, this doesn't have to be particular,
as much of it will be covered over as we progress.
Foreground color - white.
Using the AirBrush (same settings as before), spray
a little snow here and there, and then smudge it with the smudge brush.
20. Close off all the layers except for the two background hills layers.
Merge Layers 4 and 5 (the two backgroung hill layers).
Rename this layer 'Background Hills'.
Zoom in a little closer and begin smudging the two colors.
You may have to reduce the size of the smudge brush to suit your piece.
Don't worry about the bottom of the hills , that will be dealt
with later as we add more things to cover it up.
My result is below...
21. Turn the other layers back on.
22. Save as winterscenepaintingb.psp
When you're ready, click on the link below to Part C.


Dianne McFarlane
E-Mail: sdmcfarlane@nf.sympatico.ca
©Vision Designs
|