


In Part C, we're going to paint our evergreen trees.
This part of the painting will probably take the longest to do.
Be patient and take your time.
They'll look great when you're finished.
23. Foreground Color - #265052.
Background Color - Null.
24. New raster Layer.
Using your Paint Brush Tool.
See settings below...

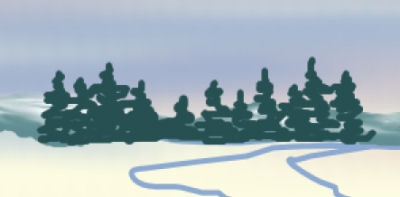
25. Begin painting squiggly shaped trees,
different sizes and heights in the center of your work.
These will be quite small, and just over the background hills.
They will look something like the image below...
26. Now we don't want to be able to count the trees, so to speak,
we would like to have a forest.
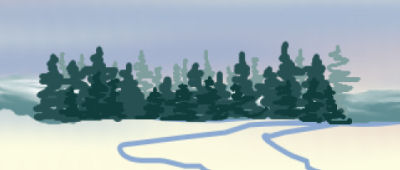
The way to achieve this effect, is to make some lighter trees behind
the existing ones and some darker trees in front.
This will lead the eye to believe that this is a forest.
Lighter color - #7f9f9f
Darker color - #113d3c
27. New Raster Layer - Make some lighter trees.
28. Move this layer of lighter colored trees below the medium colored ones.
29. New Raster Layer.
Make some darker colored trees in front of the medium colored ones.
You should have something like I have below...
30. Now we have to work on the edges and tips of our trees.
I work on each tree individually.
*NOTE*We have to decide our light source.
Everything we look at has a light and dark side.
In our case here, as we're making it up as we go along,
we may decide for ourselves.
We're going to have our 'light source' coming from the right.
This means that everything will be paler
on the right side and darker on the left side.
Don't forget that some tree branches will be fore-shortened.
This means that you are looking straight at the tip of the branch,
and therefore we can sort of put some lighter tones throughout the tree,
and not just on the right side.
From this point on, we'll be using the paint brush and the smudge tools,
I won't be giving out settings, as this will
pertain to each one's individual painting.
Just adjust the size to suit your own needs.
I will provide screen shots of the trees as I work on them,
so you will see what I'm talking about.
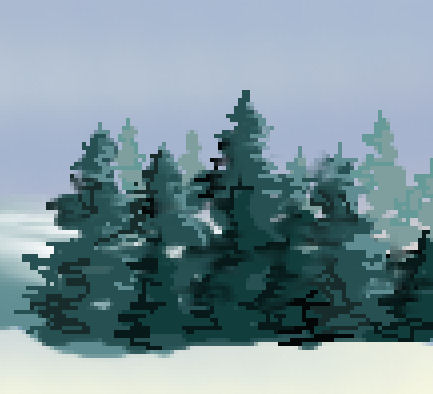
31. To begin working on the trees, ZOOM in to about 500%,
then using the paint brush,in different sizes, and various shades of the tree colors,
begin adding little branches and edges.
It will take lots of patience and a little time to get
things to look the way you like them.
I reduced the size of my paint brush to 1, for these smaller trees.
and just kept changing colors , and adding bits
until I got the trees to look as I wanted them to look.
Every now and then, set the 'zoom' back to 100%,
you'll be amazed at how great your trees look.*S*
Below is the 'Zoomed-in' screenshot...
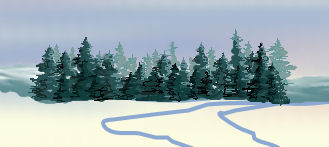
Following is a shot at normal viewing...
Pretty kewl, I thought...*S*...
32. Now close off all the layers, except,for the three tree layers.
Merge Visible.
Rename this layer 'trees 1'.
Zoom in again,
and using the 'smudge brush', begin smudging very gently, several areas,
to give the trees a softer look.
Zoom back to normal.
Turn the other layers back on.
33. New Raster Layer.
*note*...Remember to do each set of trees on its own layer.
This next set of trees will be a little larger,
and will be placed to the right side of your painting.
We begin as for the smaller trees...
First we scribble in the medium colored trees.
Next to begin to make it look like a forest,
we add the lighter colored trees.
Once they're finished, move this layer behind the first layer that we just painted.
Then, on a new layer, scribble in the darker colored foreground trees.
See Screenshot below...
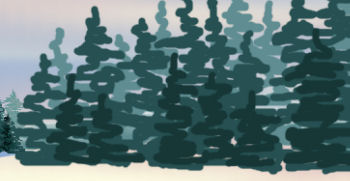
As you can see, they're nothing special yet!
34. The next step is to ZOOM in and begin working each tree,
using different colors, to enhance and shape the tree.
Use the 'Smudge Brush' here, before the layers are merged, as these trees are bigger.
Following is a close-up of how I worked the trees.
As you can see, it looks very pixelated (due to the 500% close-up)...
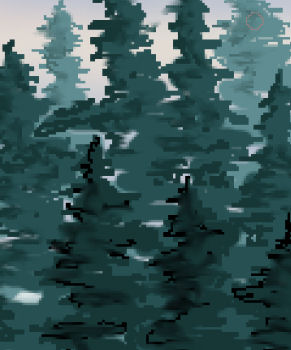
The above pic is to show you that you don't need to fuss...
Do this with each layer of trees.
Below is my end result with this clump of trees, at normal viewing....
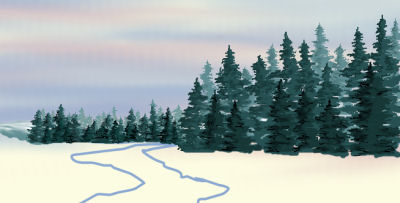
35. Close off all layers, except for the three tree layers.
Layers - Merge Visible.
Rename this layer 'trees 2'.
You may smudge a little more , once the layers are merged.
Smudge gently, only if you feel it is necessary.
Turn the other layers back on.
At this point, I decided to move my background hills up a little, so I could see them.
You may do the same if you need to.
36. Next we're going to repeat the above steps,
as we have one more clump of trees to make.
New raster Layer.
Beginning with Step 33, placing these trees to the
left side of your painting, plus make them
a little larger, as these trees are closest to us.
Continue through Steps 34 and 35,
until you have this side filled with Evergreens.
In this clump of trees, once you have merged them, rename them 'trees 3'.
37. Save as winterscenepaintingc.psp...
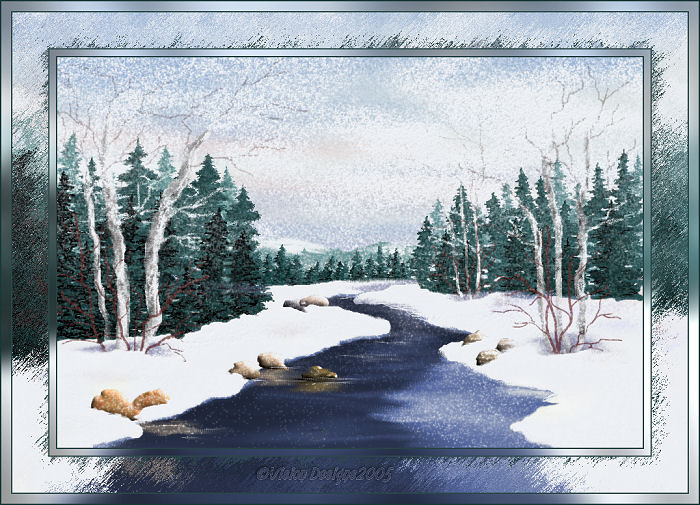
Below is my result of our painting, up to this point...
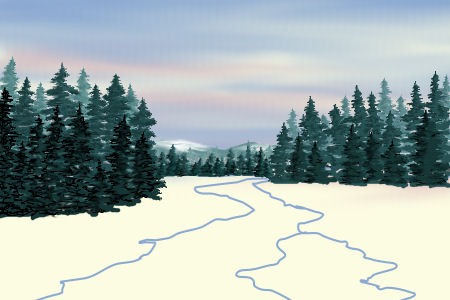
You are now ready for Part D...


Dianne McFarlane
E-Mail: sdmcfarlane@nf.sympatico.ca
©Vision Designs
|