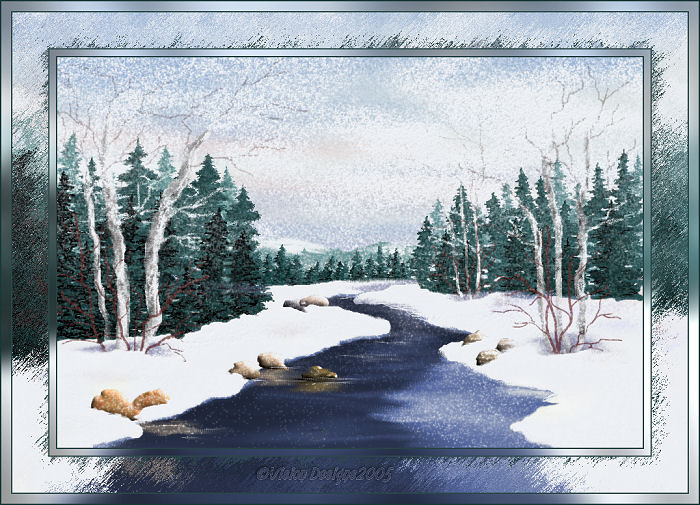


We have reached the last part of our painting - some final touches.
All paintings reach the time when we just add a few small details to perfect them.
59.
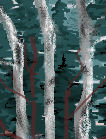
On the Birch trees...these trees have lots of bark peeling off,
and from a distance, it looks just like black dirty marks on the trunks.
Using your paint brush, size will depend on your trees,
and with a dark greyish-blackish color, just make some
smudge marks here and there on the tree trunks.
Then using the smudge brush, smudge them gently.
See caption below...Apologies, as this was as large a caption that I could achieve,
hope you can see it ok...
60. Next we have to improve our snowbanks...
Using the Paint Brush,see settings below...

*note*....You should turn off the layers with the twigs
by the birches, and the rocks, so you don't cover them over.
Turn them back on occasionally to make
sure you're putting the snow in the right places.
The be sure to turn them off again
before you smudge the snow banks.
Paint some irregular lines in front of the rocks,
evergreens and birches, also along the tops of some of the snowbanks.
You may add a few blue lines for shadows in the snowbanks.
See illustration below...
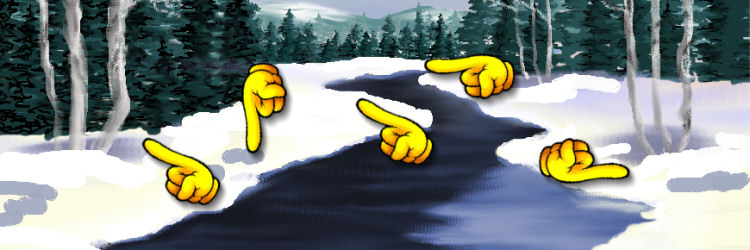
As you can see, they look a little harsh.
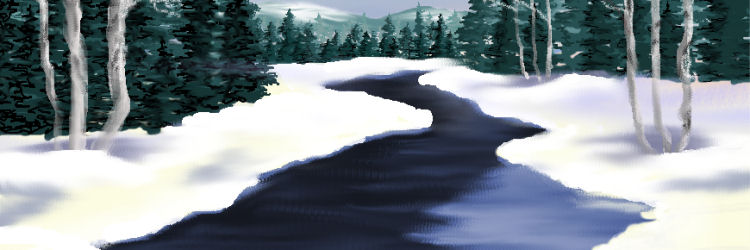
So now we will smudge to blend them in and give the snow a soft look.
Leave some of the tops of the banks, a little crisp.
See smudge settings below...

Below is my result after smudging...
61. Once you're happy with your results, turn everything back on.
Merge - All Flattened.
Add some snow using one of your filters or a tube.
I used Alien Skin - Nature - Snowdrift.
Frame your painting to your liking.
Add your name or watermark,and save as jpeg.
I really hope you had fun doing this painting.
Thank you for trying my tutorial.


Dianne McFarlane
E-Mail: sdmcfarlane@nf.sympatico.ca
©Vision Designs
|